

Blissey Bases are Super-Secret Bases made for quick and efficient leveling. The base owners’ teams will always consist of three Blissey, which give out a tremendous amount of EXP gains after a battle.
As is the case for all other Secret Bases, you will only be able to fight each Blissey Base owner once a day.
All of these Blissey have the exact EV spread, with 252 Attack EVs, plus 0 Defense EV and 0 HP EV, and also hold Toxic Orbs.
Secret Bases have a level 50 cap by default. To fight the Blissey teams at level 100, you will have to activate the Level Release at each base. However, you won’t be able to activate a Level Release unless you also own one for your own base.

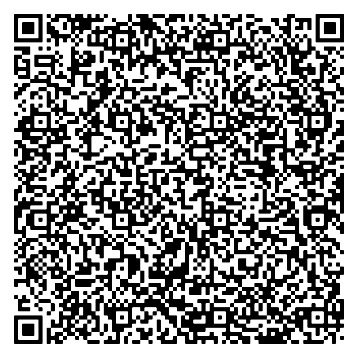
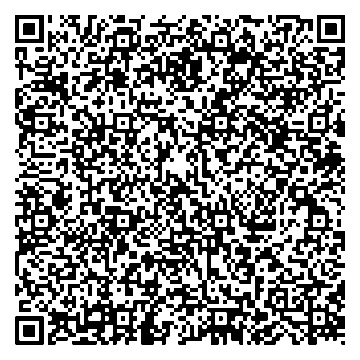
Blissey Base QR Codes
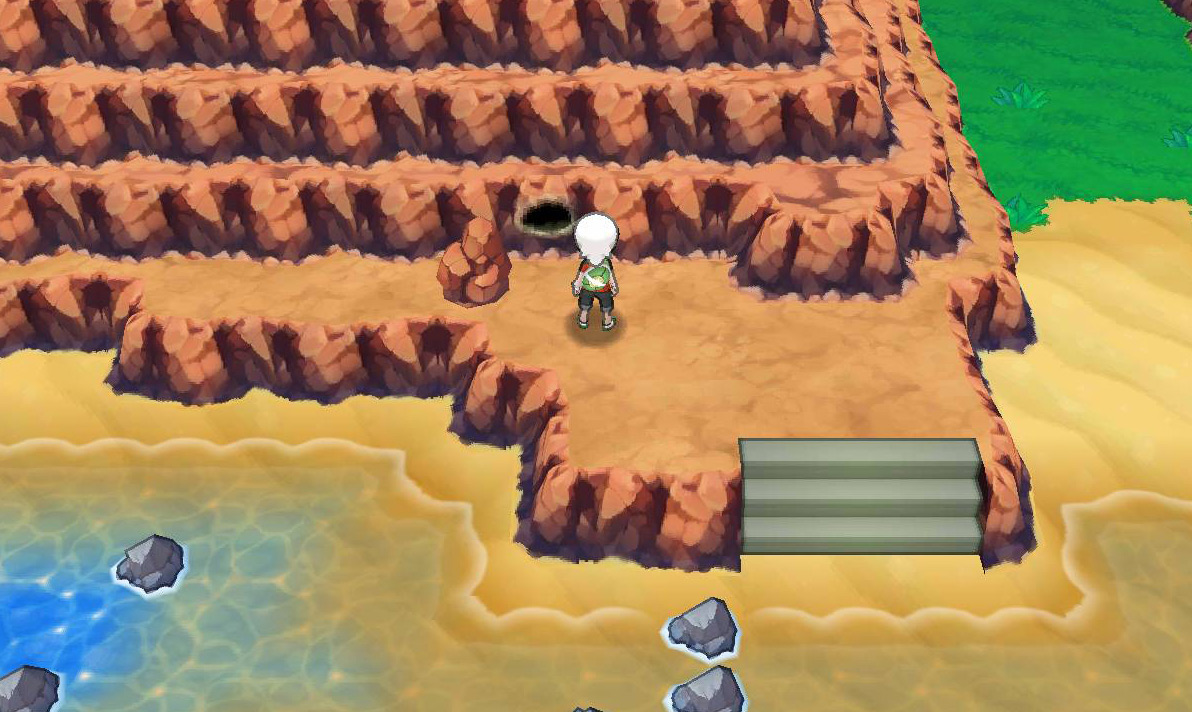
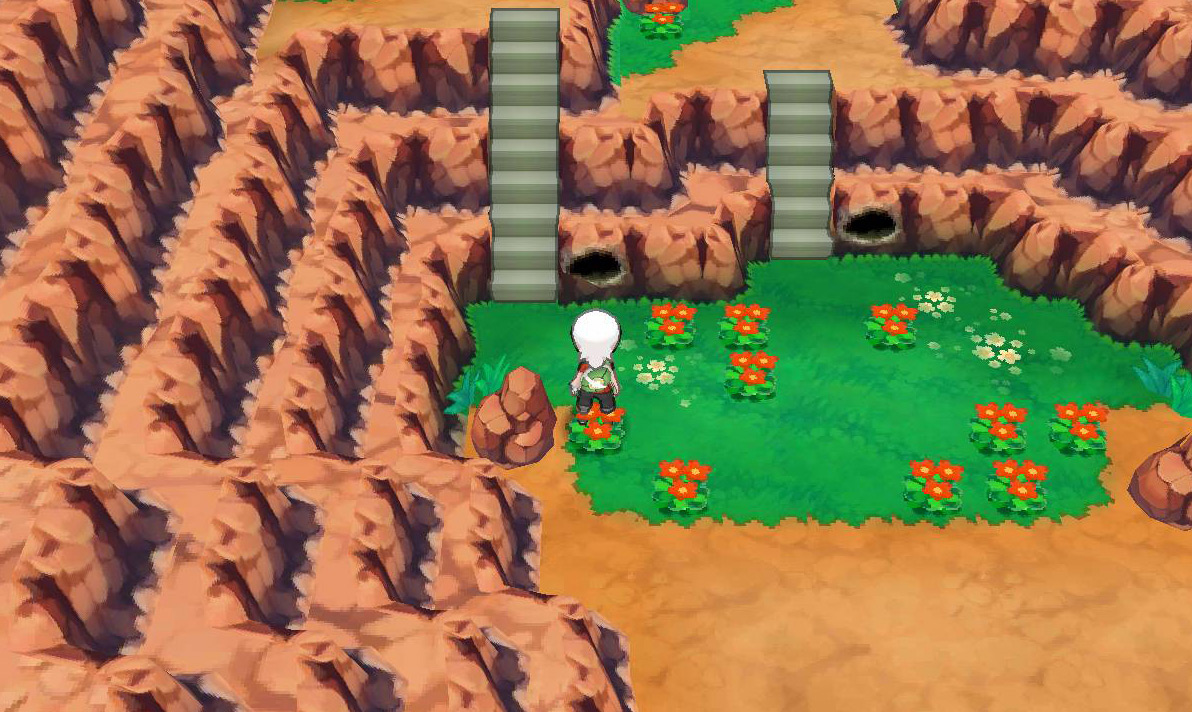
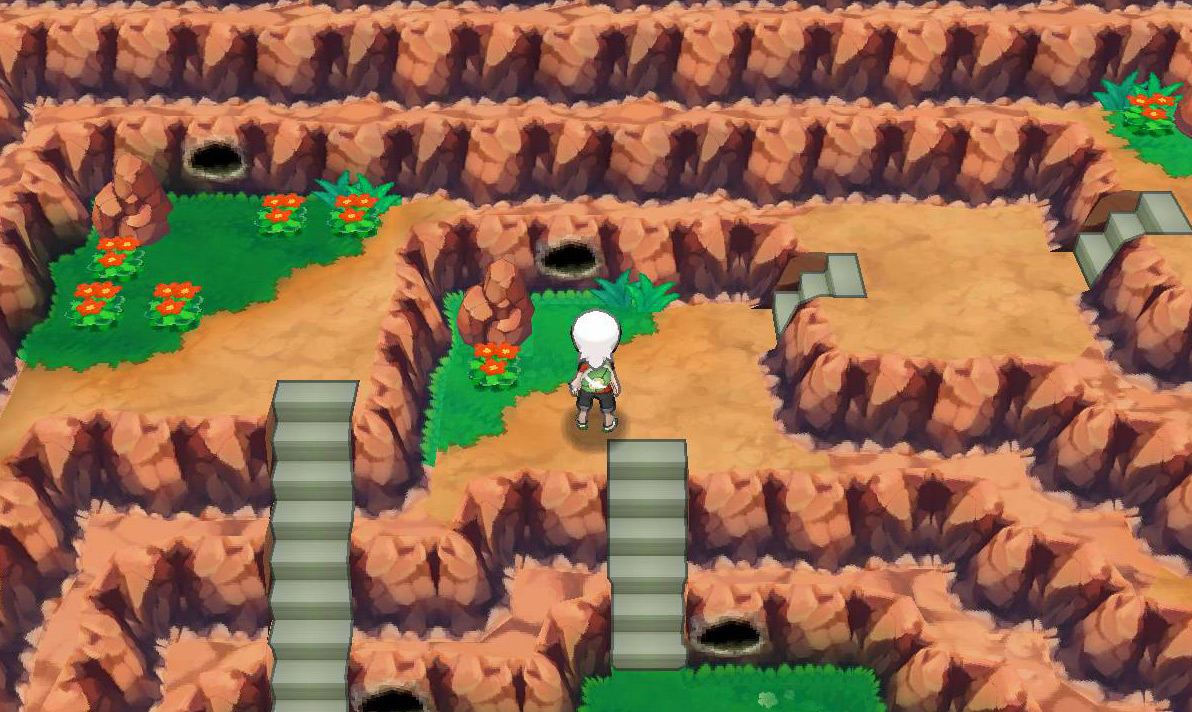
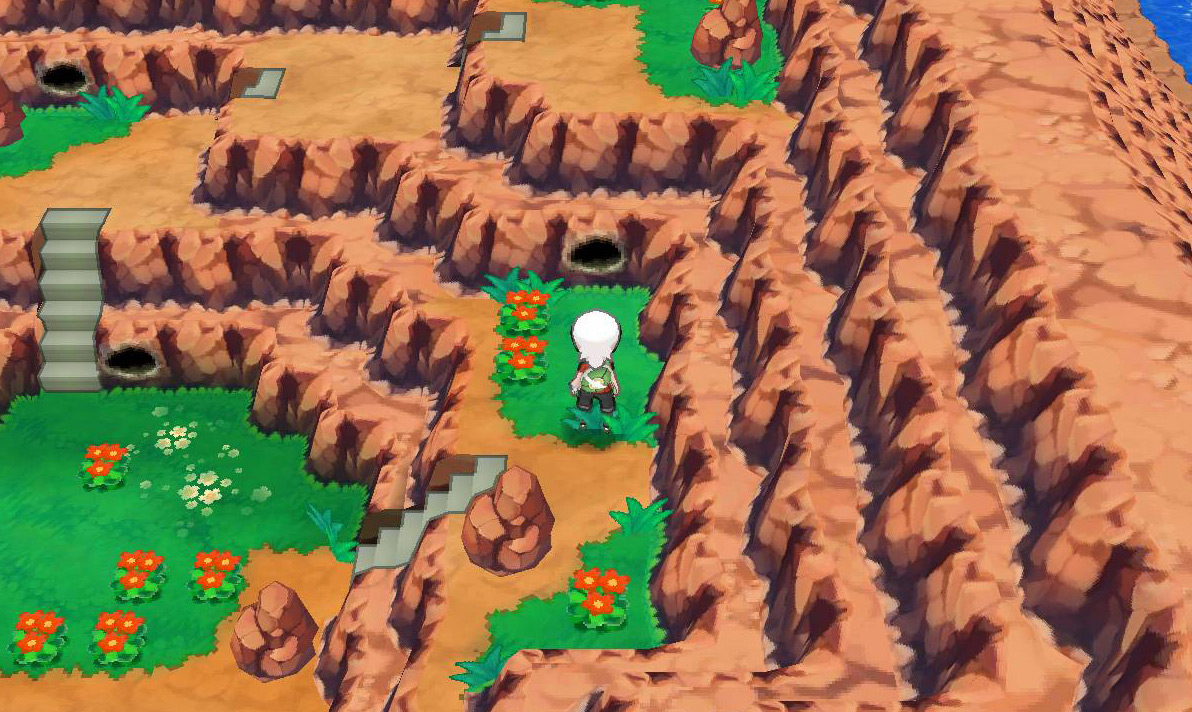
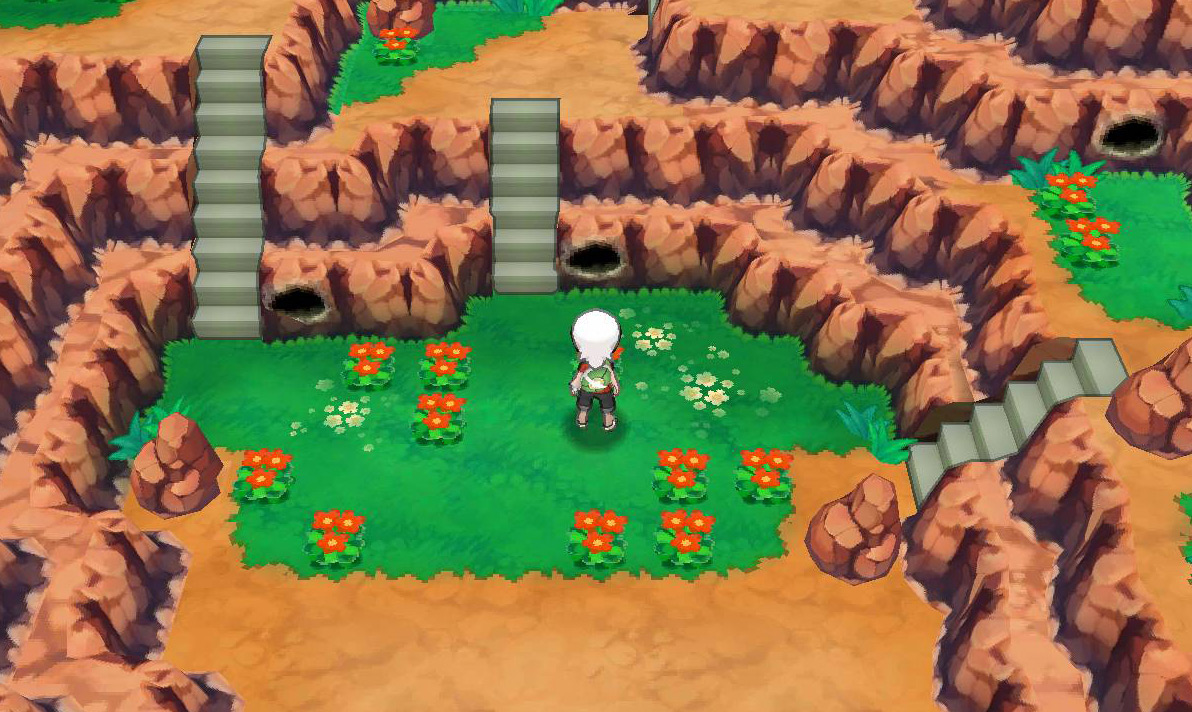
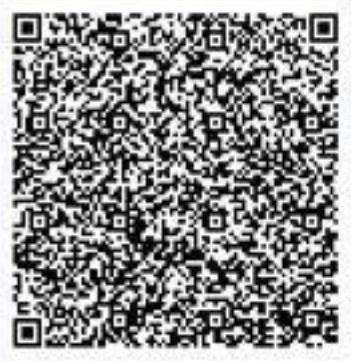
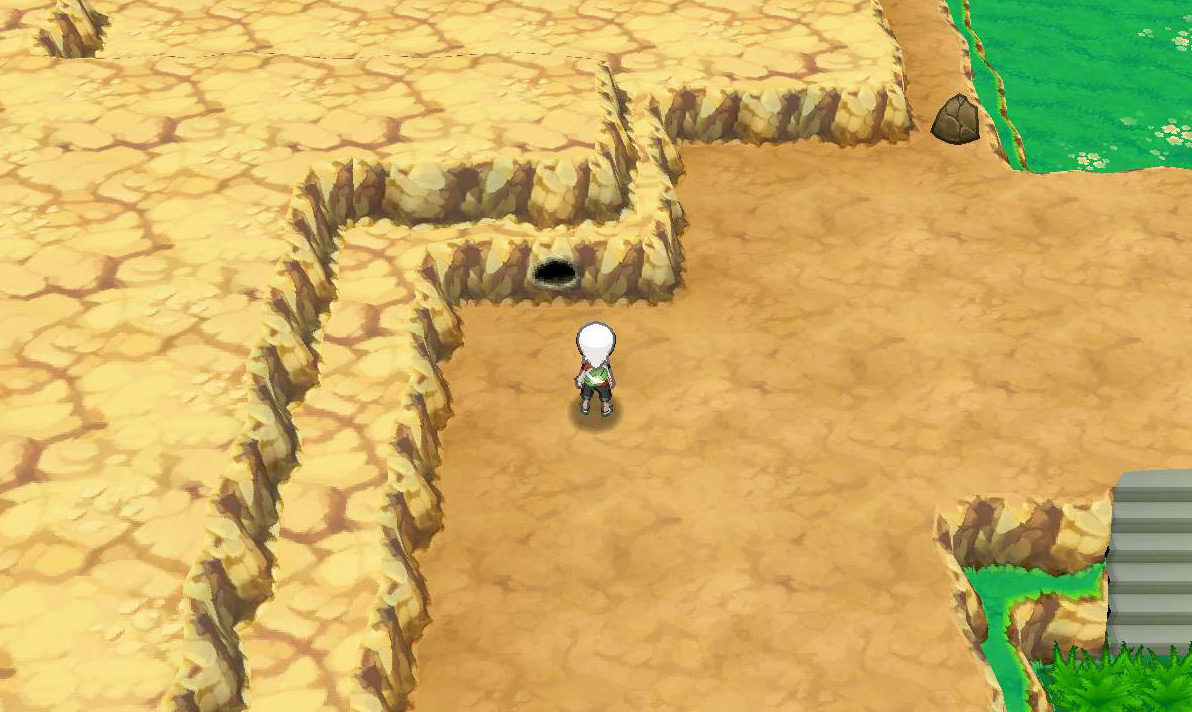
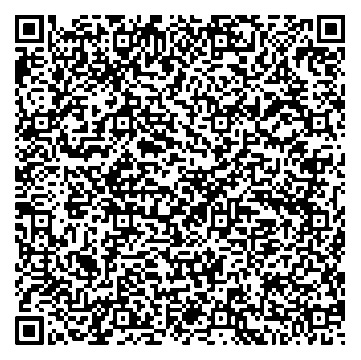
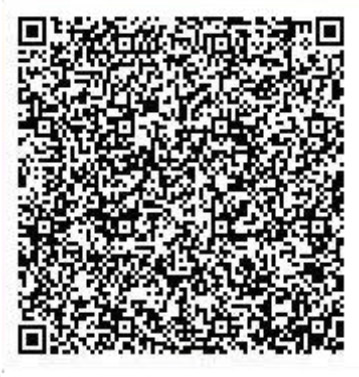
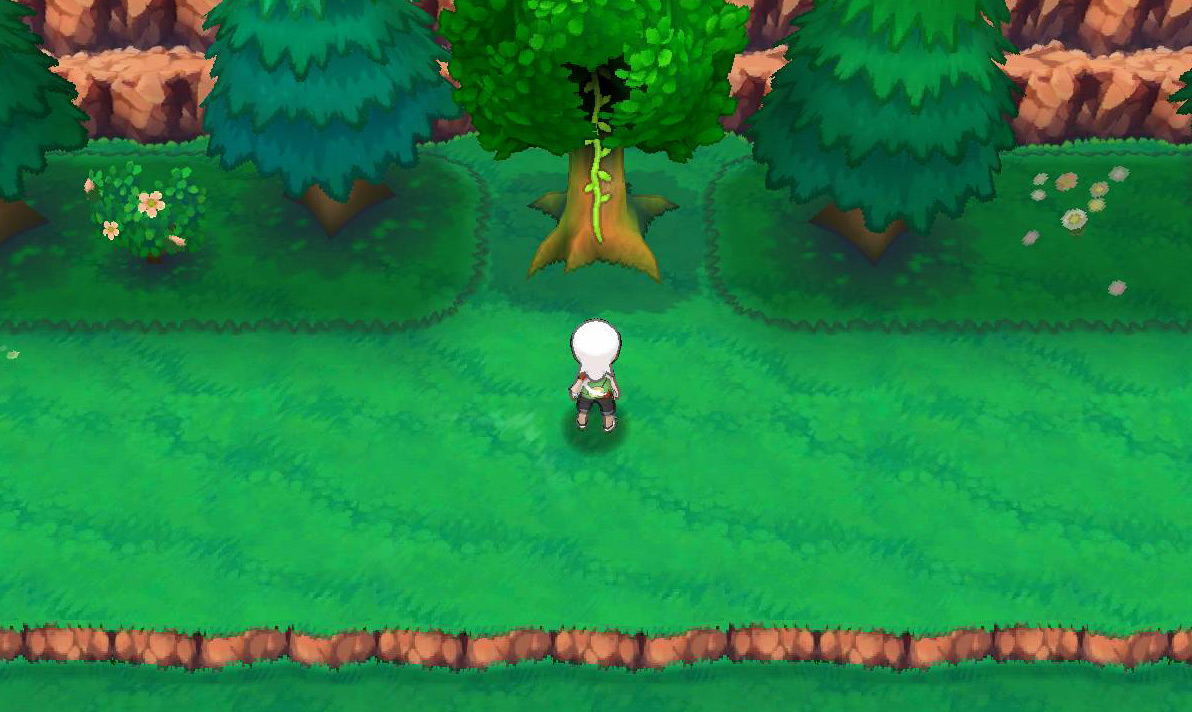
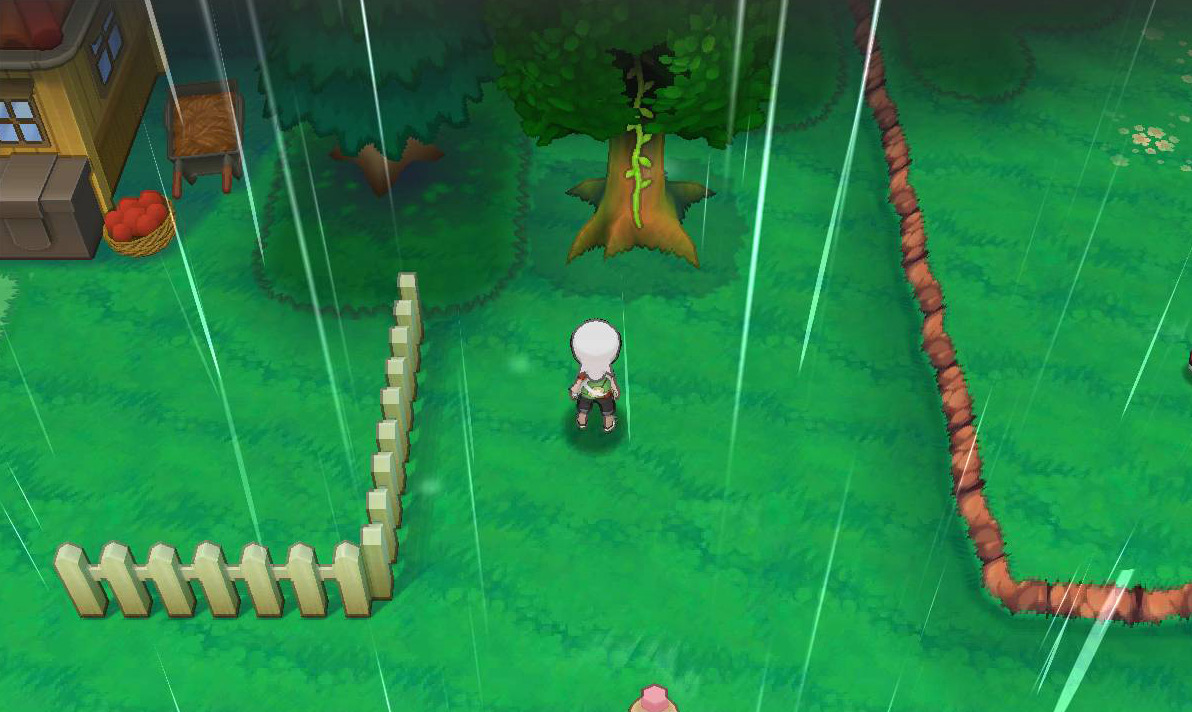
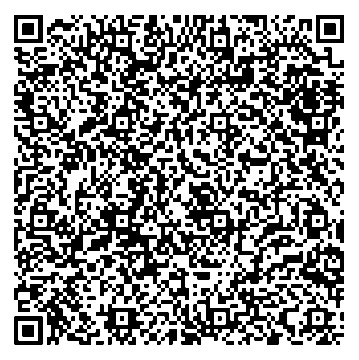
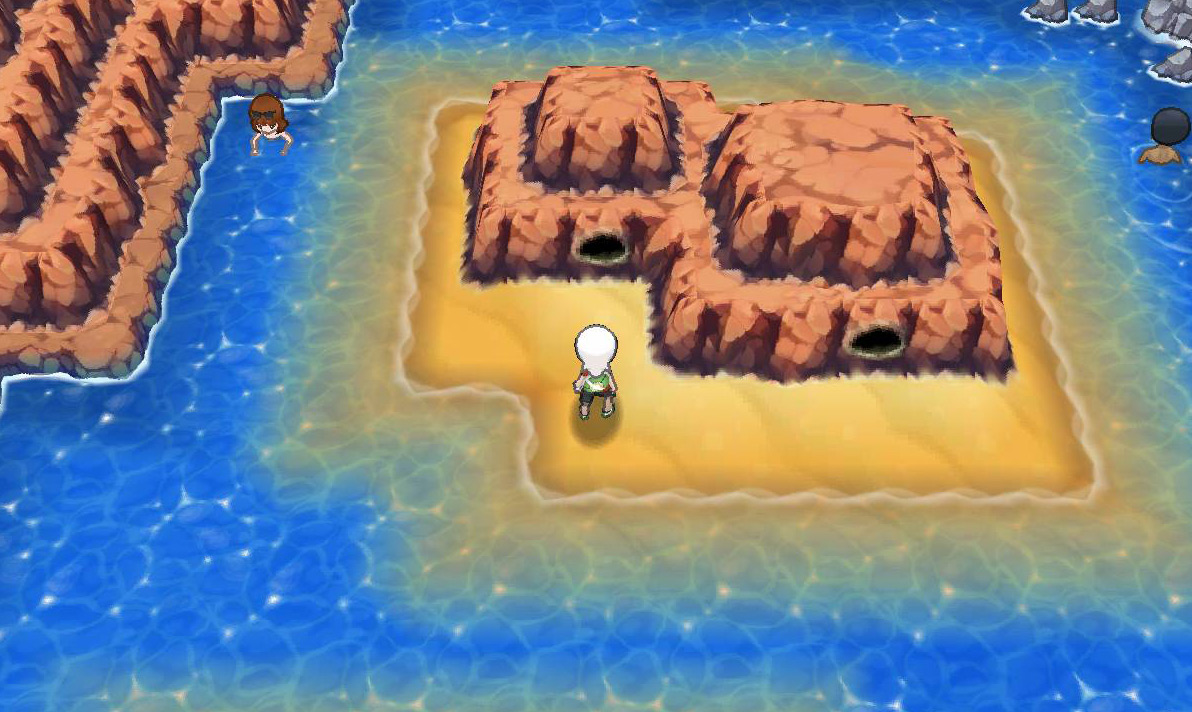
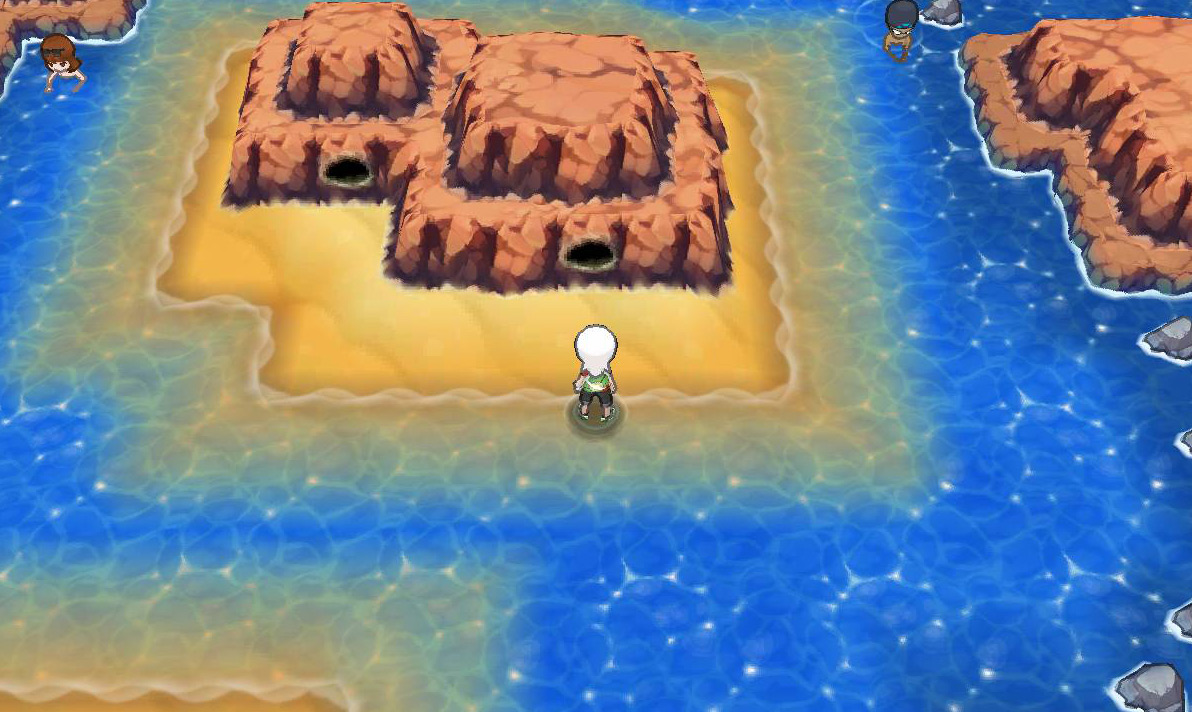
The table below lists the Blissey Bases available in the game, including their location, the respective QR codes, and also a screenshot showing each base’s location. You can click/tap on any of the images in the table below to view the full-sized images.
Some of these bases share the same location in-game. In these cases, you will only be able to favorite one of them at a time.
You are also limited to saving 15 favorites. Once you reach the cap, you will have to delete a base before adding another one.
| Base Location | Base Name | Player Name | QR Code | Screenshot |
|---|---|---|---|---|
| Secret Shore – first base up the stairs to the right of the entrance | プレイルーム | カルタ |
 |
 |
| Mega Gardevoir | Kit |
 |
||
| Secret Shore – walk up the stairs to the right of the entrance, then head south | ライブハウス | カルタ |
 |
 |
| Na na na Batman | Nana |
 |
||
| Secret Shore – head south from the entrance, then walk up the stairs on the left side at the end of the path | はくじょう | カルタ |
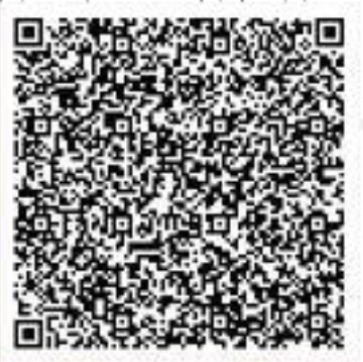 |
 |
| Paul Run | Papi |
 |
||
| Secret Shore – second base up the stairs to the right of the entrance | エレガント | カルタ |
 |
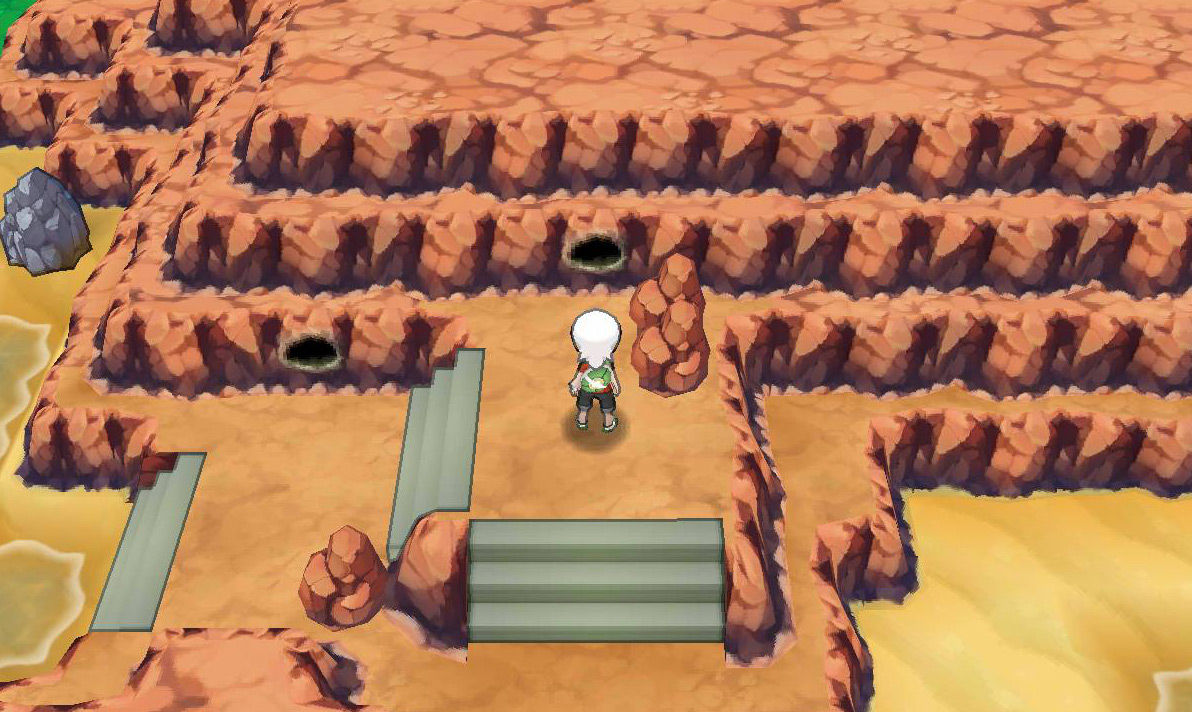 |
| Alpha | Rooben |
 |
||
| Secret Shore – head down the stairs to the south of the entrance, then turn left | どうじょう | カルタ |
 |
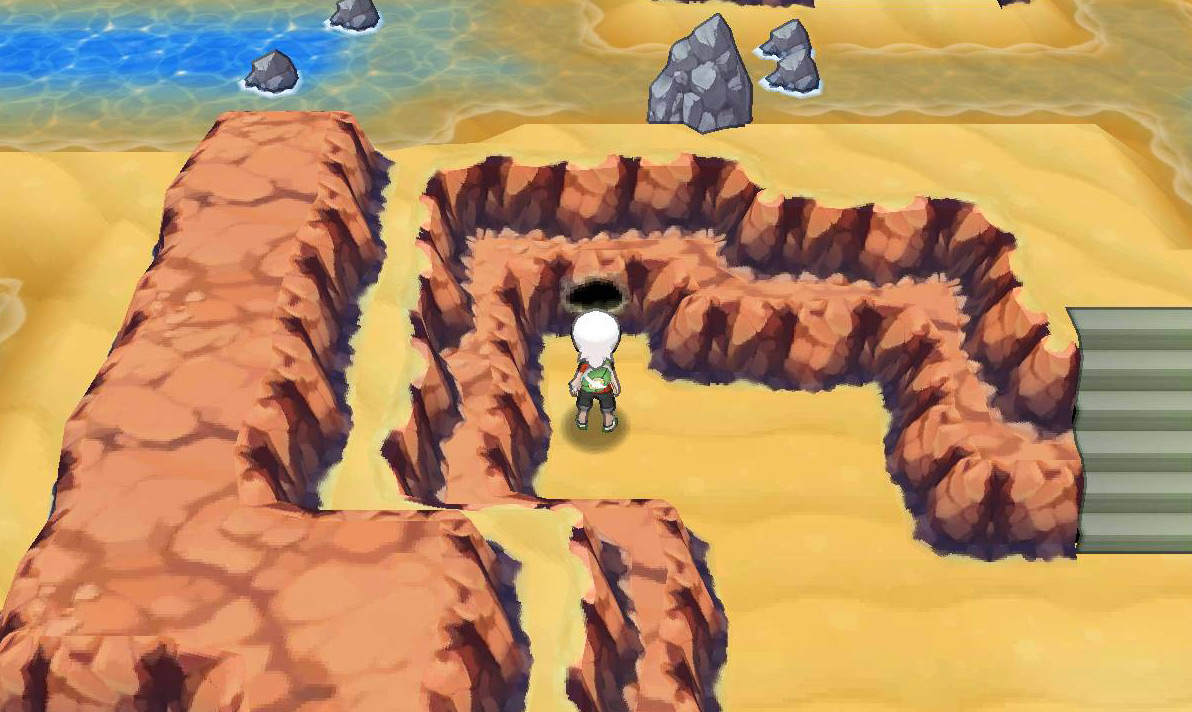 |
| Ramrod | Shane |
 |
||
| Secret Shore – base to the left of the entrance | きゅうじょたい | カルタ |
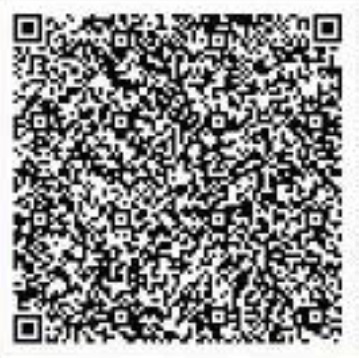 |
 |
| Marvel | Tyrel |
 |
||
| Secret Meadow – walk a short distance north from the entrance (base on the left side) | おもしろい | カルタ |
 |
 |
| Secret Meadow – walk up the stairs to the north of the entrance | マイルーム | カルタ |
 |
 |
| Secret Meadow – walk north from the entrance, then go up the stairs on the left side | あやしい | カルタ |
 |
 |
| Secret Meadow – walk up the stairs to the north of the entrance, and then walk up the stairs on the right side | わふうっぽい | カルタ |
 |
 |
| Secret Meadow – walk north from the entrance, then go up the stairs on the right side | カフェ | カルタ |
 |
 |
| Secret Meadow – walk a short distance north from the entrance (base on the right side) | ナチュラル | カルタ |
 |
 |
| Route 113 – walk down the stairs to the east of the Glass Workshop | さんどう | カルタ |
 |
 |
| Route 114 – up the stairs on the southwest | Deleoria | Amaterasu |
 |
 |
| Route 114 – northeast of Meteor Falls, base on the top-left of the rock wall (requires Rock Smash) | Deleoria | Lily |
 |
 |
| Route 114 – northeast of Meteor Falls, base on the bottom-right of the rock wall | Deleoria | Mokosh |
 |
 |
| Route 114 – southeast of Meteor Falls | Deleoria | Sakura |
 |
 |
| Route 114 – Surf west from the bridge | Deleoria | Skadi |
 |
 |
| Route 114 – near Meteor Falls (requires Rock Smash) | Deleoria | Yuna |
 |
 |
| Route 116 – exit Rusturf Tunnel through the southwest, then walk east until you reach the edge of the route | Deleoria | Anna |
 |
 |
| Route 116 – exit Rusturf Tunnel through the southwest, then walk up the stairs to the right | Deleoria | Hanako |
 |
 |
| Route 118 (east side) – walk southeast from the shore, all the way to the edge of the route | ドールハウス | カルタ |
 |
 |
| Route 118 (east side) – near the shore | はいじん | カルタ |
 |
 |
| Route 118 (east side) – after leaving the beach, walk northwest and then use Cut on the trees | めんどころひみつ | カルタ |
 |
 |
| Route 123 – east of the Berry Master’s house | きょうしつ | カルタ |
 |
 |
| Route 125 – northeast of Shoal Cave (base on the top-left) | Deleoria | Akunoko |
 |
 |
| Route 125 – northeast of Shoal Cave (base on the bottom-right) | Deleoria | Haruka |
 |
 |
| Route 125 – west of Shoal Cave | Deleoria | Hiriku |
 |
 |
| Route 125 – south of Shoal Cave | Deleoria | Salira |
 |
 |
